


Beginner Guide
Neverness to Everness (NTE) is an open-world action gacha game developed by Hotta Studio. It features a combat system familiar to players of games like Genshin Impact and Wuthering Waves, while introducing its own mechanics and a strong focus on urban life and city simulation.
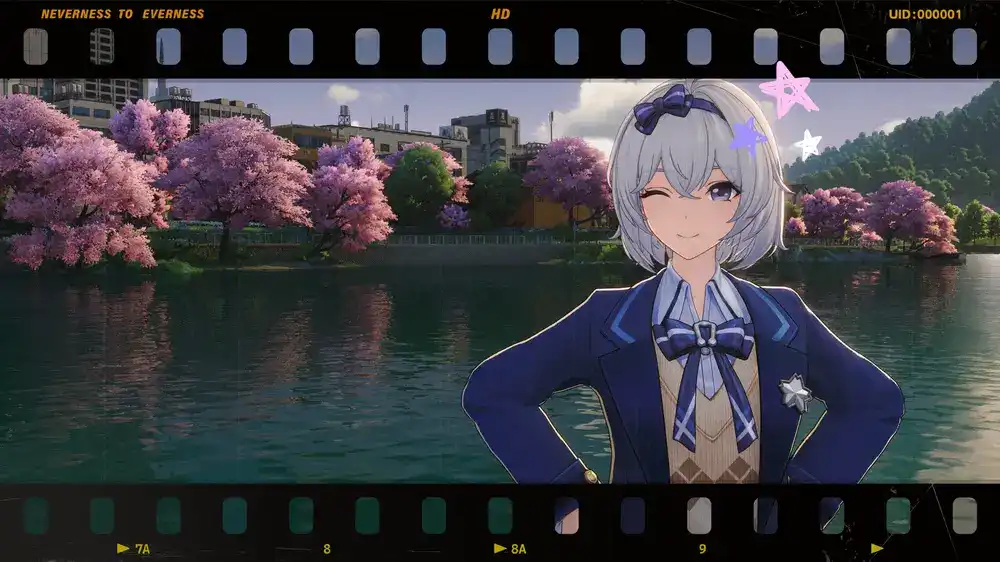
The game takes place almost entirely in the city of Hethereau, which serves as the main explorable open-world environment. It’s a huge location, and you can explore many areas of the city, including fully enterable buildings and numerous events to discover.
The world of NTE also includes creatures known as anomalies, which are treated as a normal part of everyday life within the game’s setting. You play as an Appraiser assigned by the Bureau of Anomaly Control (BAC) to Eibon, a small group handling anomaly-related incidents. These anomalies really do appear everywhere, and they can range from combat encounters to situations that are entirely unrelated to fighting.
In the game, you will be able to do activities like racing, mahjong, fishing, shop management, and playing the drums, among others, all included in the game’s Hethereau Hobbies system. These activities cost City Stamina, but don’t worry, you’re given quite a lot, and it’s somewhat difficult to run out. This stamina is separate from stamina used to farm for materials, which are instead called Character Pixels.
Either way, NTE’s core system revolves around city life, and there are many things to do, such as hanging out with your favorite characters and buying a house. So just take it easy and explore.
Gameplay
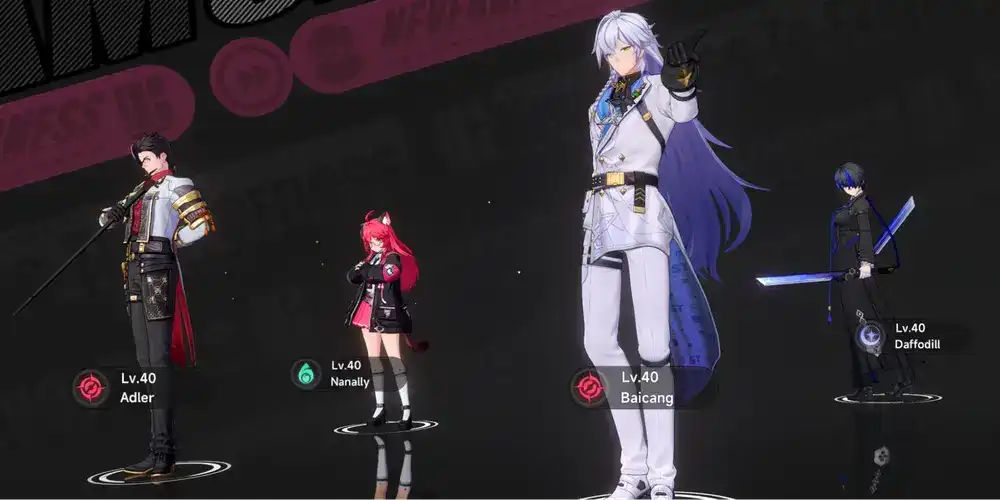
Characters
Some characters are free, while most are obtained through the gacha system, as you would expect from a typical gacha game. However, there is one completely free high-rarity character, including all their copies, such as Chiz, which you can obtain through the Tycoon Leveling system.
For more information on who they are and how to obtain them, check out our Free Characters page:

We will go into more detail about their abilities in the section below, but it is worth noting that this game is quite unique in how it handles duplicates, which are part of the Awakening System. You are not locked into a fixed duplicate progression order. Instead, Awakening effects can be selected in any order, meaning there is no situation where the best bonus is locked behind the sixth copy. You can also switch effects on or off depending on your preference.
Character and Team Building

In this game, each team can have up to four members. Their attributes are very important to the Esper Cycle, which is the single most important team-building system in the entire game. The Esper Cycle triggers when you have a unit whose attributes are adjacent to the current on-field character’s attribute, allowing you to switch them in to apply the Esper Cycle effect.
- Basic Attack - As with other action games, you have a basic attack that is activated with a button press and can be used freely without a cooldown.
- Redirect Skill - Each character has a skill that can be activated, after which it goes on cooldown.
- Ultimate - As you damage enemies, your party will build a resource called Ultimate Energy, which charges your character’s ultimate attack.
- Dodge - You can, of course, dodge in the game. If you dodge at the right time, you can perform a Critical Dodge and follow up with a Basic Attack that triggers Critical Riposte, which deals extra Break damage.
- Break - Every enemy has a Break bar. They lose Break when hit. Once this gauge is empty, the enemy takes Break damage and becomes Broken (essentially stunned), which allows you to attack freely. Using characters whose attributes are strong against the enemy allows you to break them even faster.
- Switch - You can switch between characters in this game.
- Parry - When enemies are charging a move, two ring symbols appear. When the rings align, and you attack at that moment, it counts as a parry. The game offers multiple ways to parry, including using a basic attack, a plunging attack, a skill, a swap-in, or an Esper Cycle. Parrying is also one of the best ways to build your Cycle Gauge in order to form an Esper Cycle (more on that later).
- Esper Cycle - An Esper Cycle can be created once you accumulate Cycle Gauge. Once ready, party members who can perform one will display an indicator on their avatars. When you switch them in, they perform an Entry Attack, which forms the Esper Cycle and inflicts effects based on the attributes you just used. This also resets the Cycle Gauge. Some characters, like Zero (the MC), can instantly fill the Cycle Gauge with their Redirect Skill.
Combat
As you probably guessed from the section above, the whole combat system revolves around Esper Cycles and applying them. NTE’s combat system otherwise works fairly similarly to other action gacha games on the market, and you are free to play your favorite characters for the most part. While the game does not seem to be the most combat-focused gacha game ever, there is time-gated content that will require a basic degree of team building and synergy to really bring out the best in your characters and clear the challenge.
Among other things unrelated to the Esper Cycle, which we will go more in-depth into in the section right after this, you will want to time your dodges well to trigger Critical Riposte and parry enemies when possible. There is also a visual indicator, as mentioned above, and once you get the hang of it, it is not too difficult.
These mechanics will generally be things you pick up naturally as you play and likely will not even require reading. The only part that might require some actual reading is the effects of the various Esper Cycles themselves and their names, since they are not as straightforward as basic attributes like water or fire.
Gear - Arcs

- They are the weapons in the game. They are equipped on characters to boost their stats and provide additional effects in combat.
- There are five Arc types in total: Solid, Liquid, Gas, Plasma, and Synthesis. Each character can only equip Arcs that match their allowed type.
- Arcs provide basic stat bonuses as well as sub-stats, and all come with unique effects depending on the specific Arc.
- You can obtain Arcs from multiple sources, including drops from Anomaly bosses, the in-game shop, or through the gacha system using the Tri Key currency (Which you exchange for in the Warp Exchange).
- There is no single “best” Arc in general, as the optimal choice depends on the character you are using.
Gear - Consoles

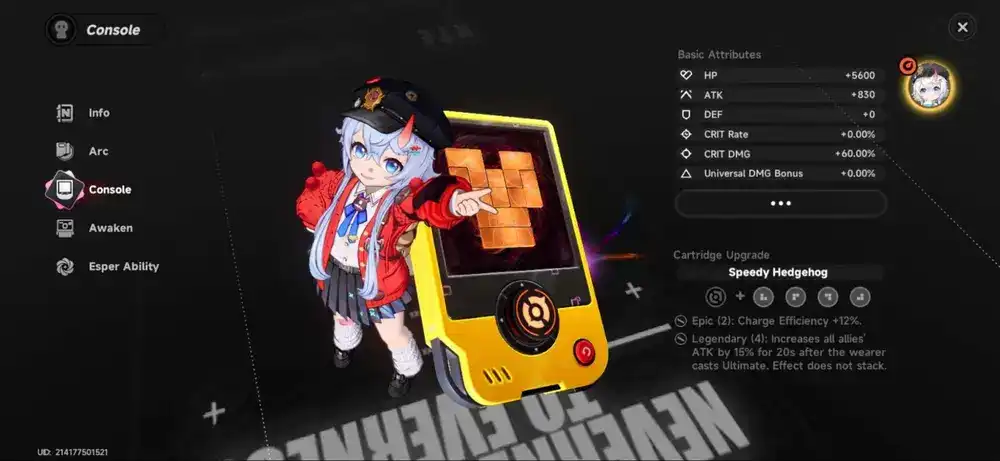
Consoles are another type of equipment in the game. Like Arcs, they provide stat boosts, but they work a bit differently and can also grant additional bonuses when used as part of a set.
Consoles are divided into two main parts:
- Cartridges: These determine the set effect. Similar to artifact sets in other games, they provide larger bonuses when equipping multiple pieces from the same set (such as 2-piece or 4-piece effects).
- Modules: These are the main stat pieces. Each Module provides one main attribute and up to four sub attributes. They function as the primary way to customize and fine-tune your character’s stats.
Consoles drop in the Rabbit Hole, which is a regular boss and enemy farming mode. It works similarly to farming character upgrade materials, where you spend stamina and then claim the drops afterward.
Modules are obtained through the Rewind feature, where you use specific tokens to obtain them.
World Exploration
Like most open-world games, exploration is a core part of the experience. As you travel through the world, you’ll earn various rewards, including summoning currency.
A key part of progression comes from Exploration Guide missions. These are objectives tied to discovering new locations and completing specific exploration tasks around the map.
Alongside general exploration, you’ll also encounter anomalies. While you can deal with them freely as you explore, there is also a dedicated Anomaly Commissions system that helps you track and take on these encounters more directly. Many of these commissions involve combat challenges and reward you with an Arc upon completion.
Beyond exploration and combat, the game also features Hethereau Hobbies, a dedicated activity hub containing a wide range of side systems. These include property management, cafe management, racing-related activities, and various smaller interactive hobbies. Some of these activities are planned to support multiplayer features in the future.

These systems are closely tied to the City Tycoon progression layer. As you develop your Tycoon Level, you unlock additional features and rewards, including access to certain characters such as Chiz and her variants.
Most of these activities reward Fons, the primary in-game currency used for purchasing furniture and other cosmetic items.
Attributes and The Esper Cycle

To give a small recap: An Esper Cycle is triggered after building up your Cycle Gauge. Once it’s ready, characters with matching attribute types will show an indicator, and switching them in will activate the cycle through an Entry Attack. This applies additional effects based on your team’s attributes and resets the Cycle Gauge.
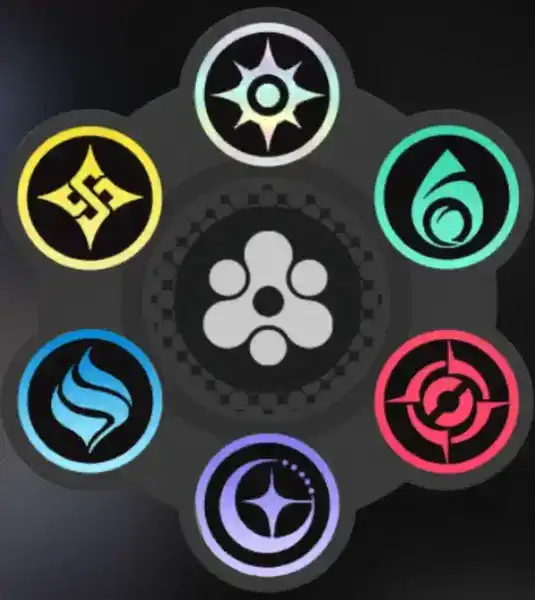
NTE Attribute System
- Cosmos:
- Anima:
- Incantation:
- Chaos:
- Psyche:
- Lakshana:
Within the Esper Cycle system, you can only activate effects using attributes that are adjacent to each other in the attribute chart.
For example, Cosmos can pair with Anima or Lakshana. But CANNOT pair with anything else.
Cycle Effects
- Blossom (Cosmos + Anima): Lebenstamms will spawn near the character. Periodically, Lebenblumes will fly toward enemies and explode on contact, dealing AoE damage.
- Remora (Cosmos + Lakshana): Targets affected by Remora have their movement and attack speed slowed for a period of time. This effect gradually wears off. If a target is affected by Remora repeatedly, the duration is reduced.
- Nova (Chaos + Psyche): When the effect expires, affected targets take a large burst of damage.
- Scorch (Chaos + Incantation): Scorched targets take continuous damage over time.
- Hexed (Incantation + Anima): Targets affected by Hexed take 50% additional Follow-Up damage when hit by Anima or Incantation attacks.
- Stain (Psyche + Lakshana): Stained enemies take increased damage from Psyche or Lakshana Esper abilities.
You can also layer Esper Cycles on top of each other to trigger additional combo effects, such as:
- Discord (Chaos + Psyche + Incantation): Applying both Nova and Scorch at the same time will trigger Discord, which reduces a percentage of the target’s Break.
- Charge (Cosmos + Anima + Lakshana): When Lebenblumes hit targets affected by Remora, Charge is triggered, granting the active character additional Ultimate Energy.
You should keep in mind that your team has a maximum of four characters, so you cannot access every effect in a single team and will have to choose between them.
For example, Hexed requires Incantation + Anima, while Discord requires Chaos + Psyche + Incantation. You likely will not run both in the same team. Hexed requires Anima, and to make the most use of that, you would also want a Cosmos character to be able to form another Esper Cycle effect. However, a Discord-focused team requires Chaos and Psyche, which do not interact with Cosmos, making it difficult to build around both at the same time.
Starting At Zero, With Zero

When you first start the game, We recommend focusing on exploration and the main story, just like you would in a typical open-world game. Make sure you talk to Chiz early on to unlock the Tycoon Level system, as it’s a major part of your progression. From there, you can largely follow the tasks provided, and you’ll also get a strong free character (Chiz) through this system.
Then the game will settle into a regular gacha schedule. You’ll want to log in and use your Character Pixels to farm character materials, and that becomes your routine. You can still walk around and explore, but if we’re talking about min-maxing, you don’t really need to do that every day if you don’t feel like it.
There’s also no need to rush into endgame content. Just focus on progressing your Tycoon Level and building your team over time.
As for some early tips, try not to use your selector right away. It’s better to wait and see which characters you get first, then decide who you want to build your team around. You’ll get plenty of pulls early on, so you’ll likely obtain some S-Rank characters even before using the selector.
When building your first team, aim for a simple setup where each character can trigger an Esper Cycle with at least one other teammate. The main character is a good place to start, and since Cosmos works with Nanally or Jiuyuan, who are strong DPS, it’s a solid foundation. She can also instantly fill the Cycle Gauge and give you the ability to perform Esper Cycles right away.
As you progress further, you can start refining and optimizing your teams. Also, remember you don’t have to drive everywhere. You can activate Werithemer Towers to unlock fast travel points, so it’s a good idea to prioritize finding those early on.
Video Guide
For additional information check this video: