Tina’s Mindrealm
The boss of Tina’s Mindrealm… Tina, it is a battle of correct timing and target prioritization. Tina is another boss containing a mechanic that makes use of the additional action button (make sure it’s bound). Timing mechanics incorrectly will mean instant death in this encounter.
Tina wants coordination from the entire party. Her main mechanics, Void Corruption Clone and Void Sigil, require the team to focus on either damaging the correct target or safely passing around a ticking time bomb that results in an instant wipe if held on for too long. You’ll need to juggle Void Sigil’s duration with teammates and focus on moving it to the tank before Void Corruption Recycle is cast.
Loot
| Difficulty | Ability Score Needed | Drops | Rarities | Item Lvl |
|---|---|---|---|---|
| Normal | 3530 | Helmet + Necklace + Weapon | Epic | 40 |
| Difficult | 5970 | Helmet + Necklace + Weapon | Epic + Legendary | 40 |
| Master | 12340 | Helmet + Necklace + Weapon | Epic + Legendary | 60 |
Tips for Everyone
Reverie Megamorph
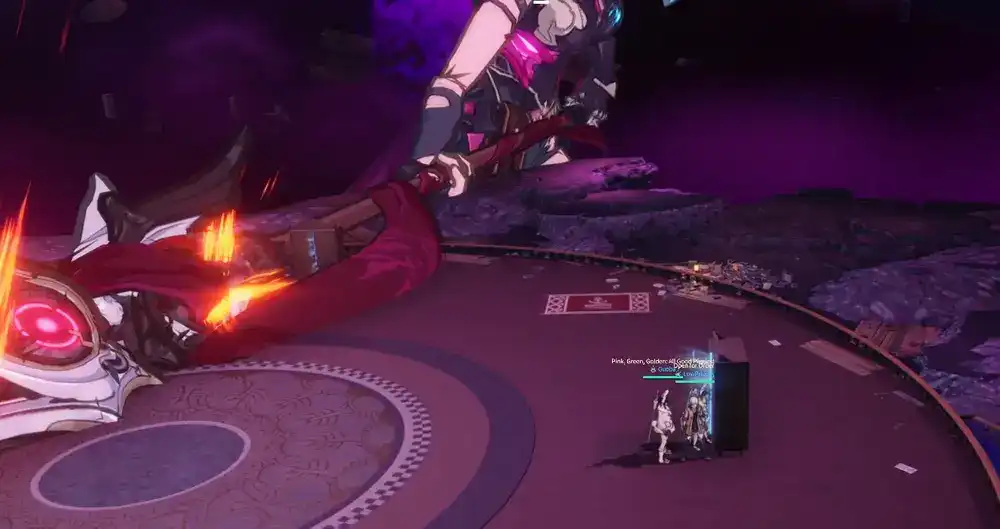
Tina becomes a giant, moving to the outskirts of the arena and will sweep her lance across the field, slowly dealing lethal damage to all it touches. At the same time, large fireballs will strike the arena.
- Dodge the fireballs; they’ll deal damage and root you, likely preventing you from successfully beating the next mechanic.
- Make your way to the cabinet opposite the side Tina is attacking with her Lance (the cabinet to your right when facing her). Interacting with this cabinet teleports you to the opposite side of the arena, but timing is essential due to the large hitbox of her Lance.
- Teleport when the Lance attack is about halfway through the arena to avoid any damage. Be sure to avoid any fireballs when exiting the other cabinet.
Void Corruption Clone
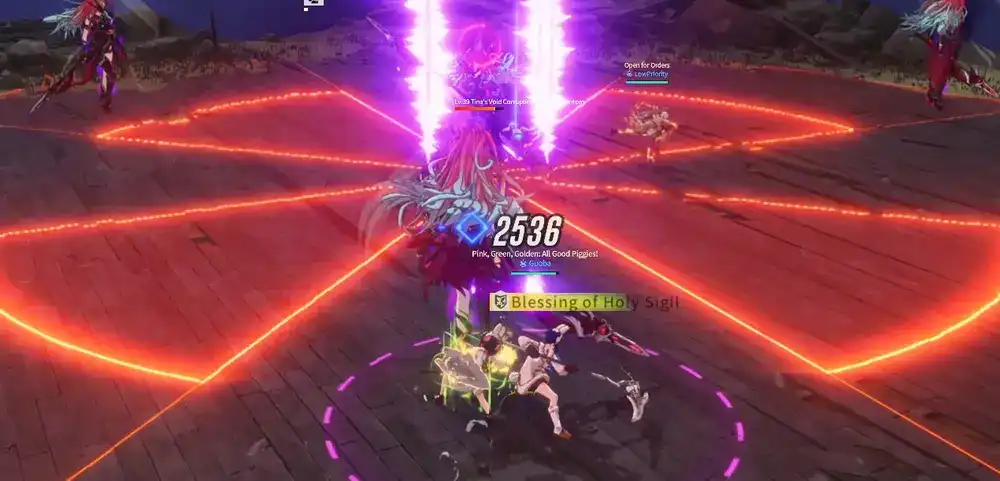
Tina splits herself into multiple clones and begins channeling. Any clones that reach her will greatly empower her next attack.
- Each clone moves towards Tina at a different pace, prioritize killing the clone closest to her.
- Ensure all clones die to avoid empowering Tina.
After all clones die or after a set duration, Tina will perform a massive attack, which, if clones are absorbed, will become lethal.
- Use damage reduction abilities before this mechanic hits if Clones were absorbed.
Difficult +: Tina now unleashes periodic damage around her in wide pizza slice-shaped attacks during the Clone phase.
- You must now deal with the clones whilst also dodging these.
Void Sigil
Tina will apply a Void Sigil to a random player with a set duration; once the duration reaches zero, that player will explode and instantly die.
- Track the Void Sigil using the in-game buff/debuff tracker.
- Use the extra action button to pass it to an ally within the purple radius around you, resetting its duration in the process.
The Void Sigil will be eliminated from the fight temporarily after Tina casts Void Corruption Recycle.
Difficult +: If the Void Sigil explodes, the whole party wipes instead now, and the timer is reduced.
- Tracking the Sigil is even more important and requires more frequent swaps.
Master +: The timer for the Void Sigil is further reduced, and the damage for passing it to someone that has already had the debuff is increased.
Void Corruption Recycle
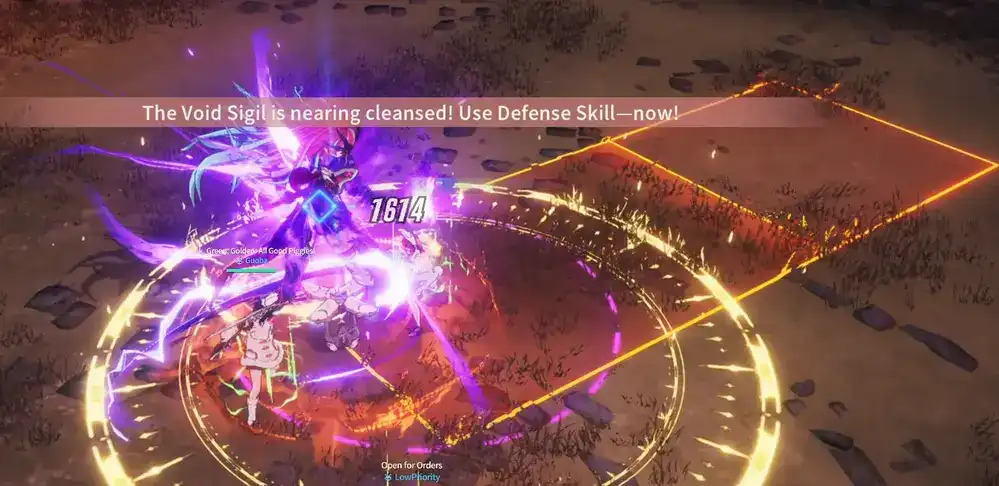
Tina will immobilize the target, holding Void Sigil and begin charging a lethal box-shaped attack. This attack can be seen on a timer at the top of the screen, so plan your Sigil juggling around this. When she attacks, she will cleanse the Void Sigil and remove the previous Sigil juggling mechanic until it reappears.
- Juggle the Sigil between non-tank players until shortly before Tina casts this ability. Everyone else should get out of the box.
- Ensure the tank is holding the Sigil before this ability is cast.
- The tank must use their damage-immune ability. This can also be on a non-tank player with an immunity skill.
Lance Flurry
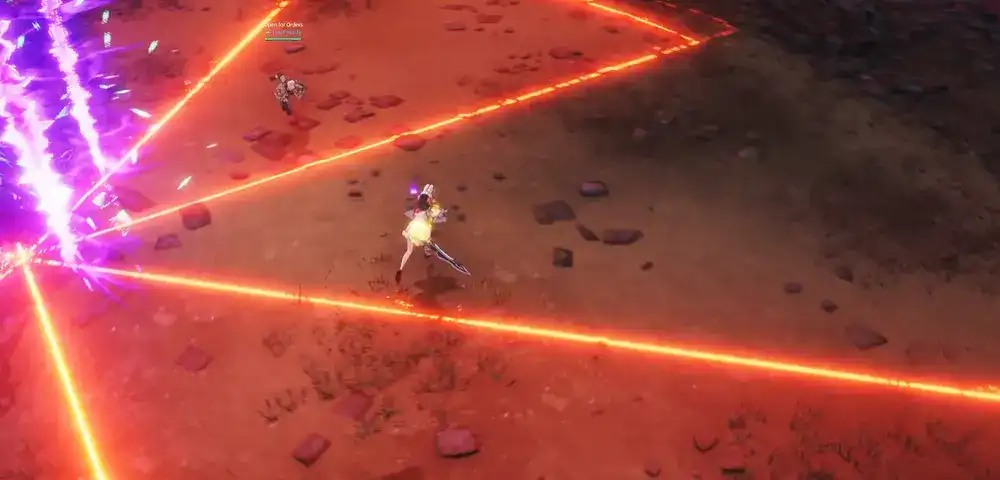
Tina divides the arena into 8 separate pizza-shaped slices, which she will activate, causing explosions several times in a rotating windmill pattern. Two slices will be safe at a time (always directly opposite each other). Tina may alternate the pattern clockwise and anti-clockwise.
- Get to the safe slice or use your stamina to dodge and mitigate the explosion if timed right.
- Position yourself somewhat close to Tina, as the attacks are very quick and the hitboxes are larger the further you are away from her.
Scythe Frenzy
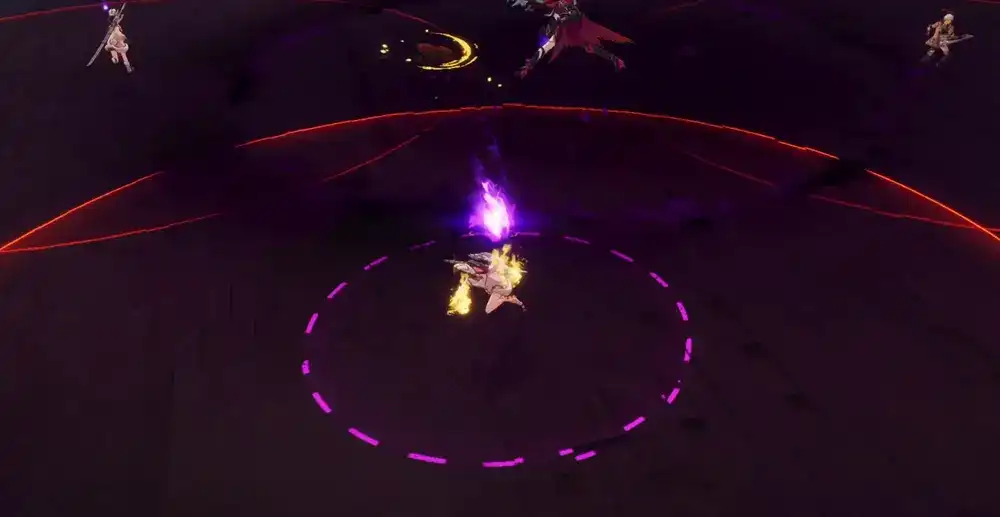
Tina will mark all players with massive circle hitboxes.
- Spread out and hold position, as after the marks disappear, Tina will quickly dash between all marked players, dealing large AoE damage around them.
- Move back together after Tina is finished dashing.
Difficult +: A slight gravitational pull is present and slowly pulls players into the center.
- Use your Resonance Ability “Phantom Dash” to quickly spread out away from your party.
- Keep moving away from Tina to avoid the pull, making your hitbox overlap with other party members.
Void Stack Explosion
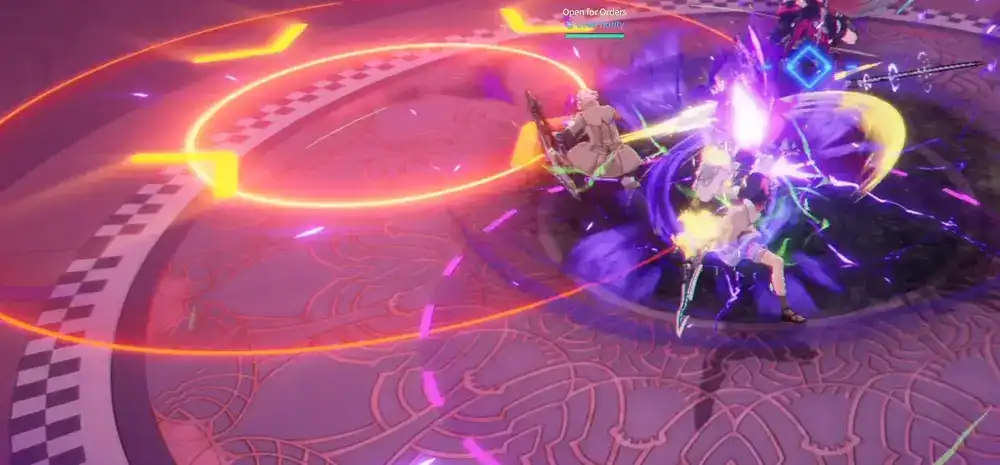
Tina will mark an area of the arena with a red circle containing inwards-facing arrows. After a short period, she attacks anyone inside the hitbox with distributed damage.
- Stack inside the circle to prevent one player from taking all the damage.
Tips for Tanks
Void Sigil
Ensure you are the one holding Void Sigil when Tina casts Void Corruption Recycle to prevent teammates from dying with no recourse.
Void Corruption Recycle
Use all tank cooldowns available to survive. Ensure you time them at the right moment as the bar of the attack is close to filling.
Void Cleave
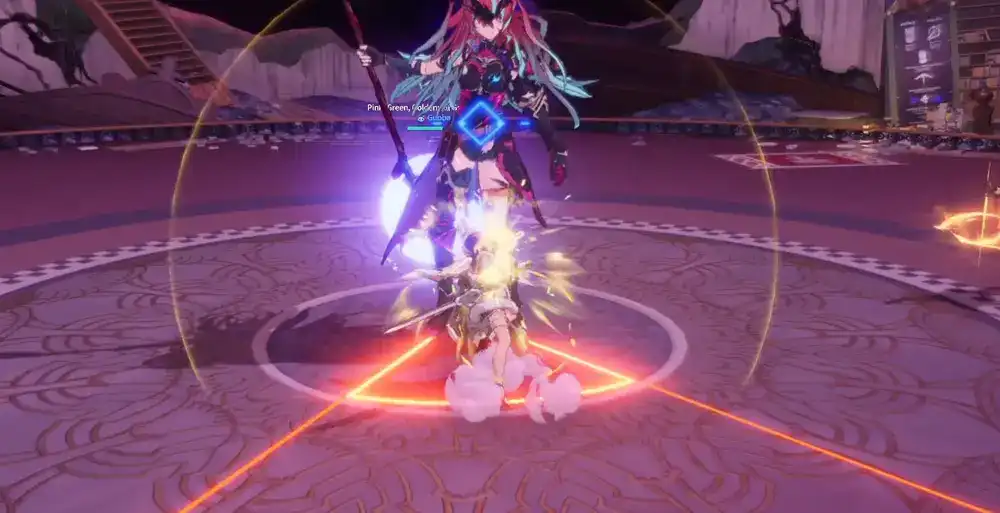
Tina will target her primary target with a narrow frontal cleave.
- Face her away from the group to avoid them taking DMG and losing DPS.
- Dodge out of these cleaves before they complete their cast.
Video
Check below a video of the dungeon:


